How to make patterned paper
Make your gifts even more special with recyclable or reusable wrapping paper created by your own fair hands, in not much time!
You’ll need the below + a cuppa:
Brown wrapping paper (I got mine from the post office, £1.25 for 5 metres and a decent width)
Scissors
Paints
Pencil with rubber
Paintbrush
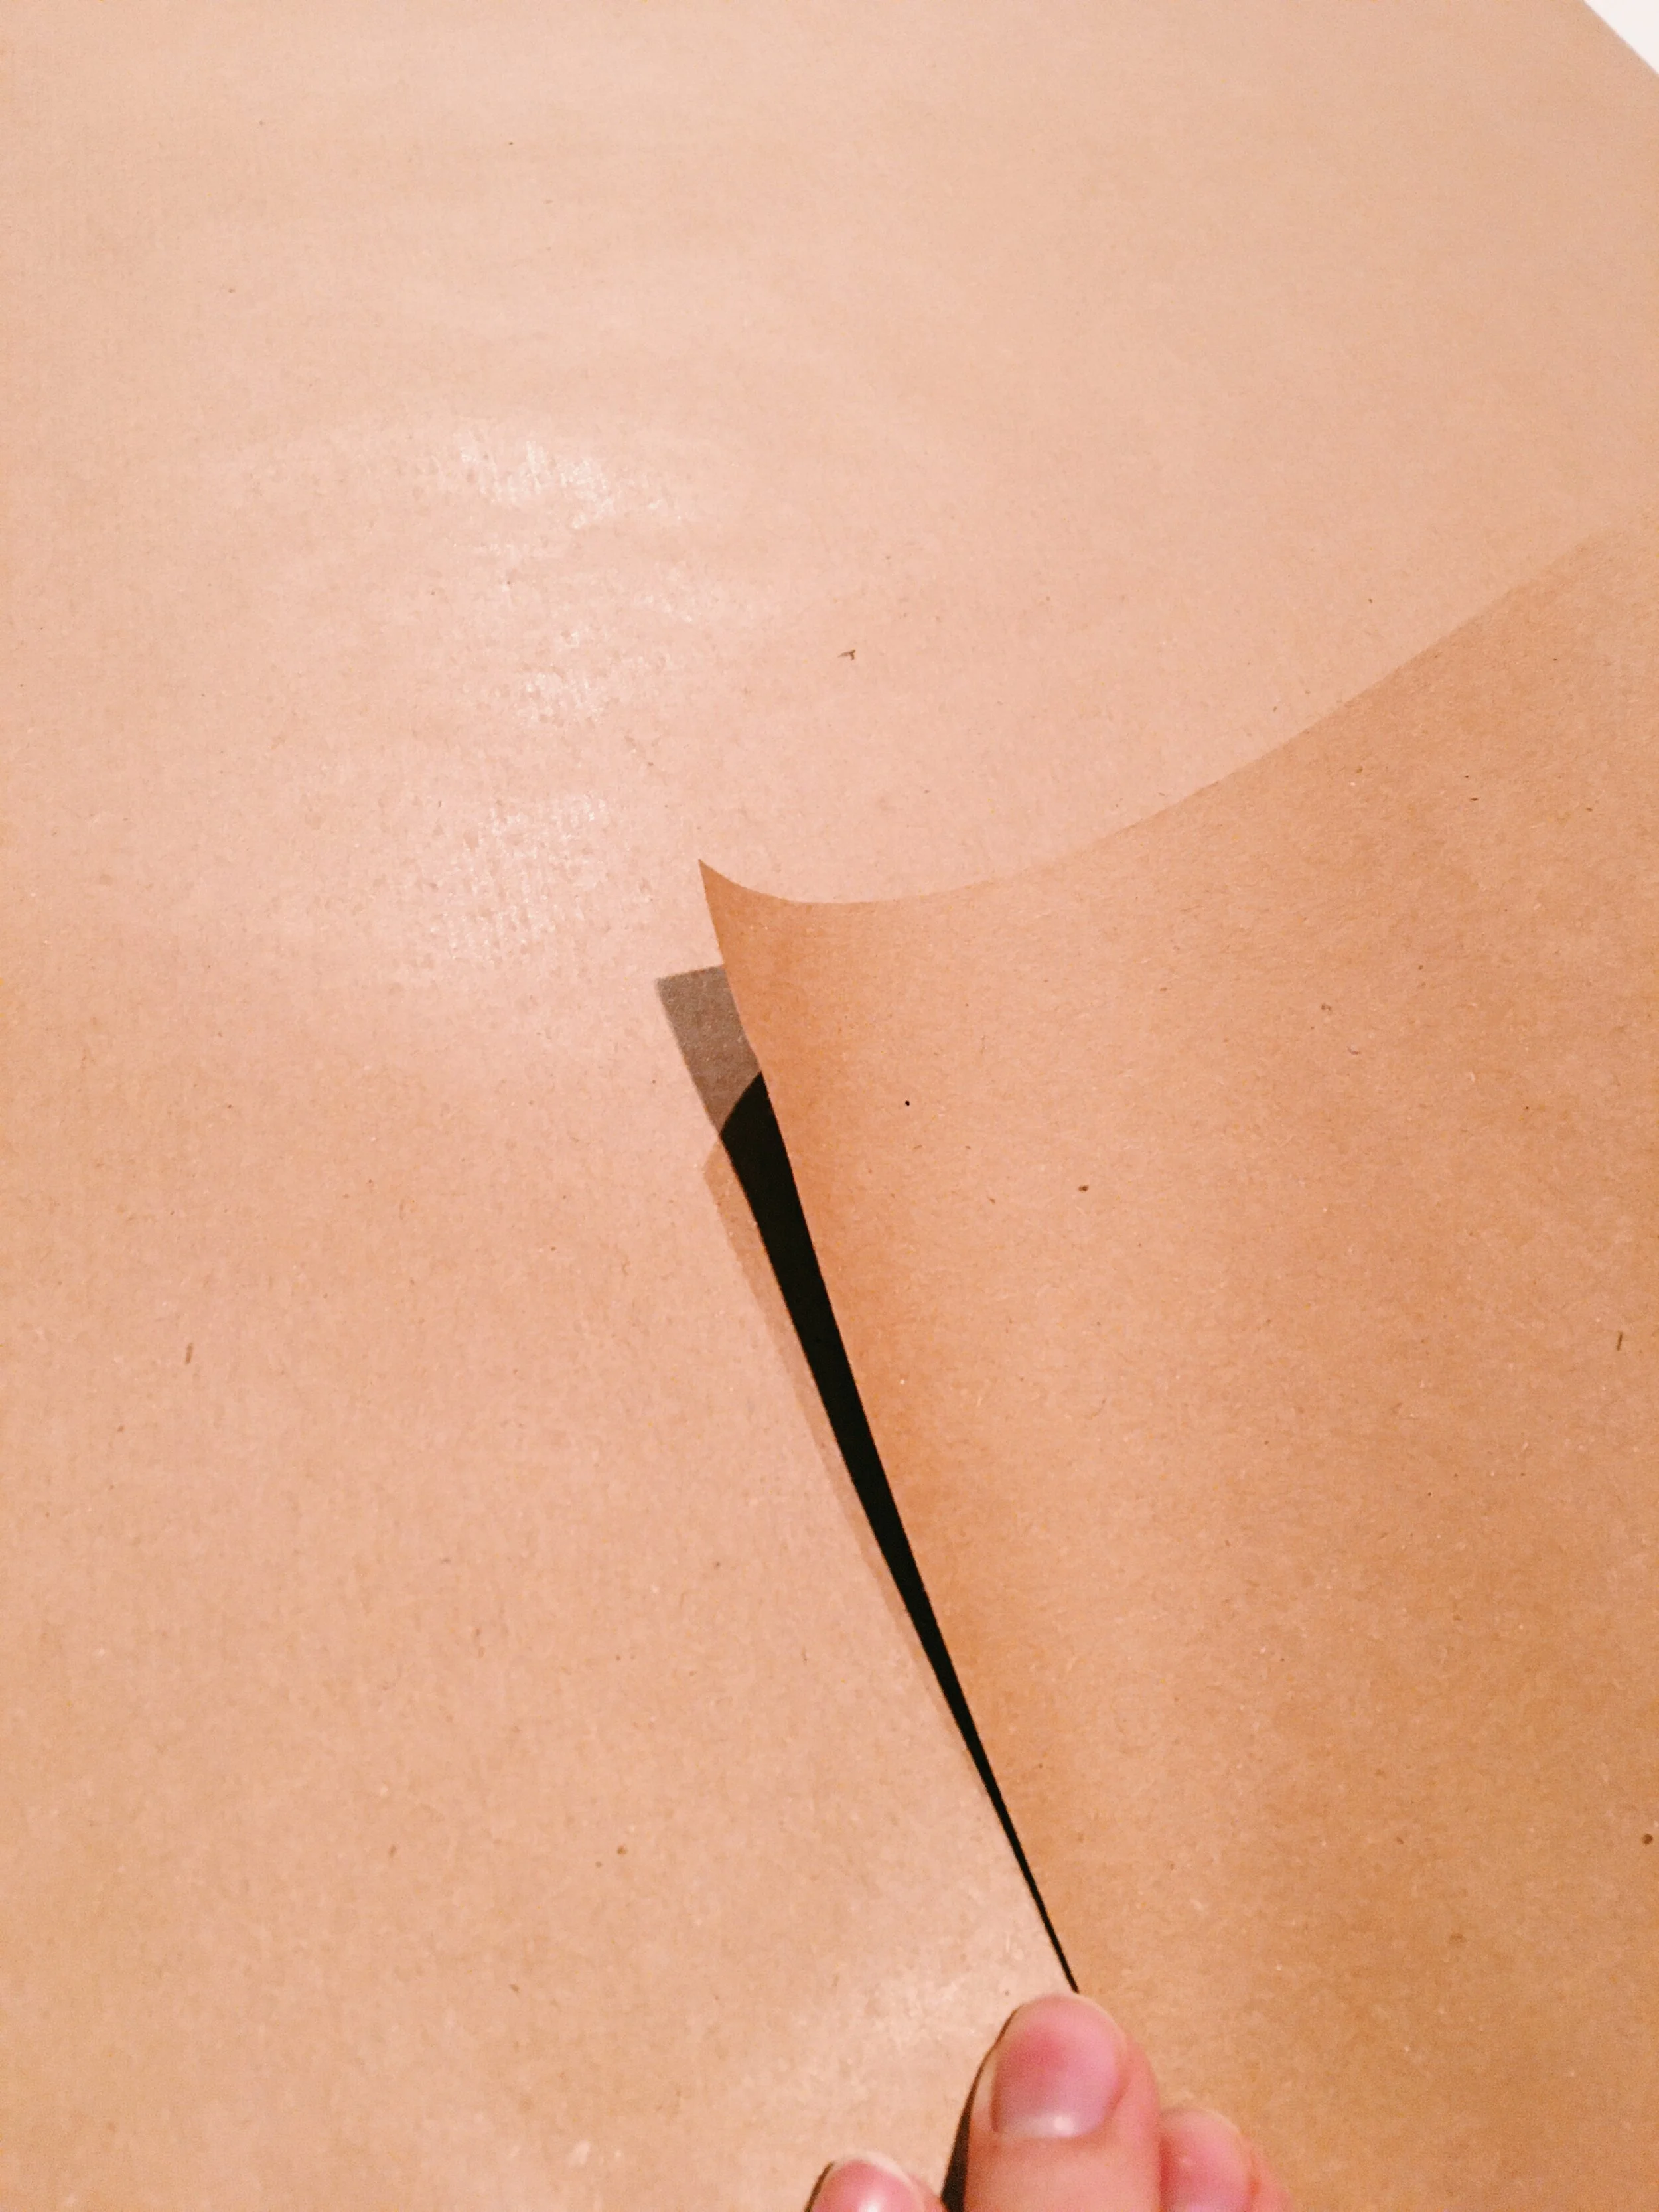
There are usually 2 sides to brown paper, a slightly shiny side and a slightly duller side. You can have either as the outside.
Roll out your paper to size, you might want to weight it down if it’s curling up.
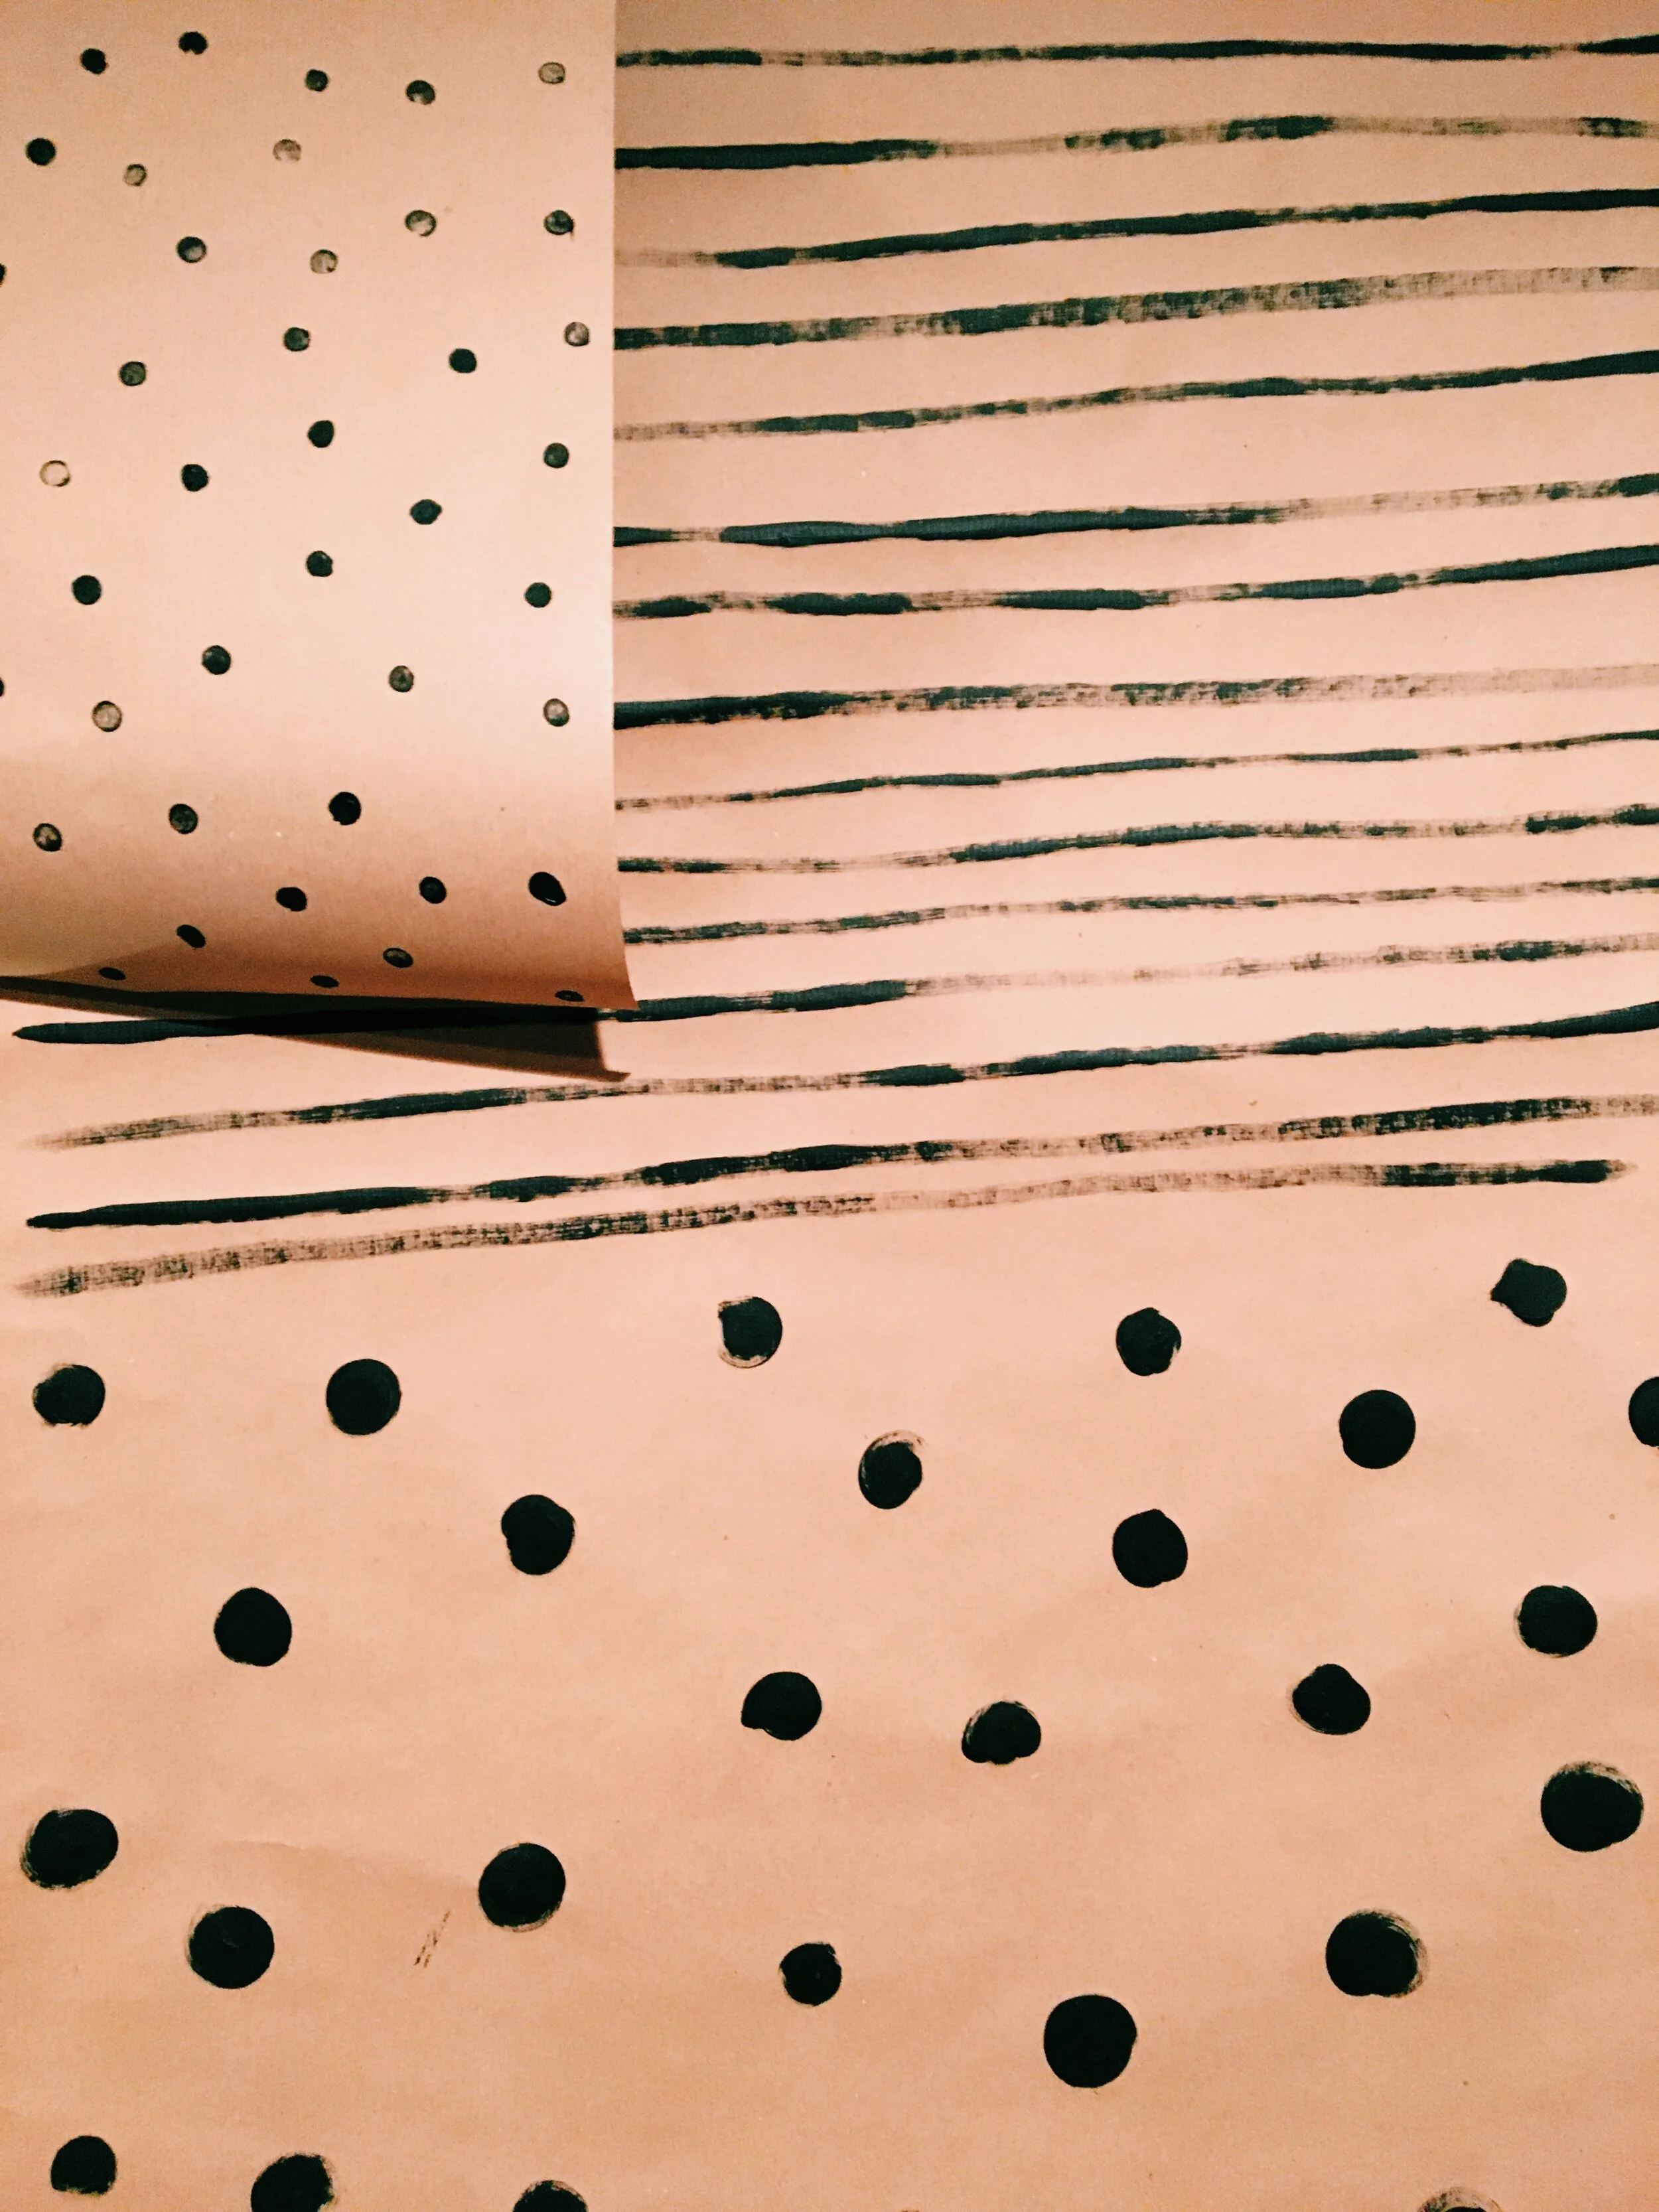
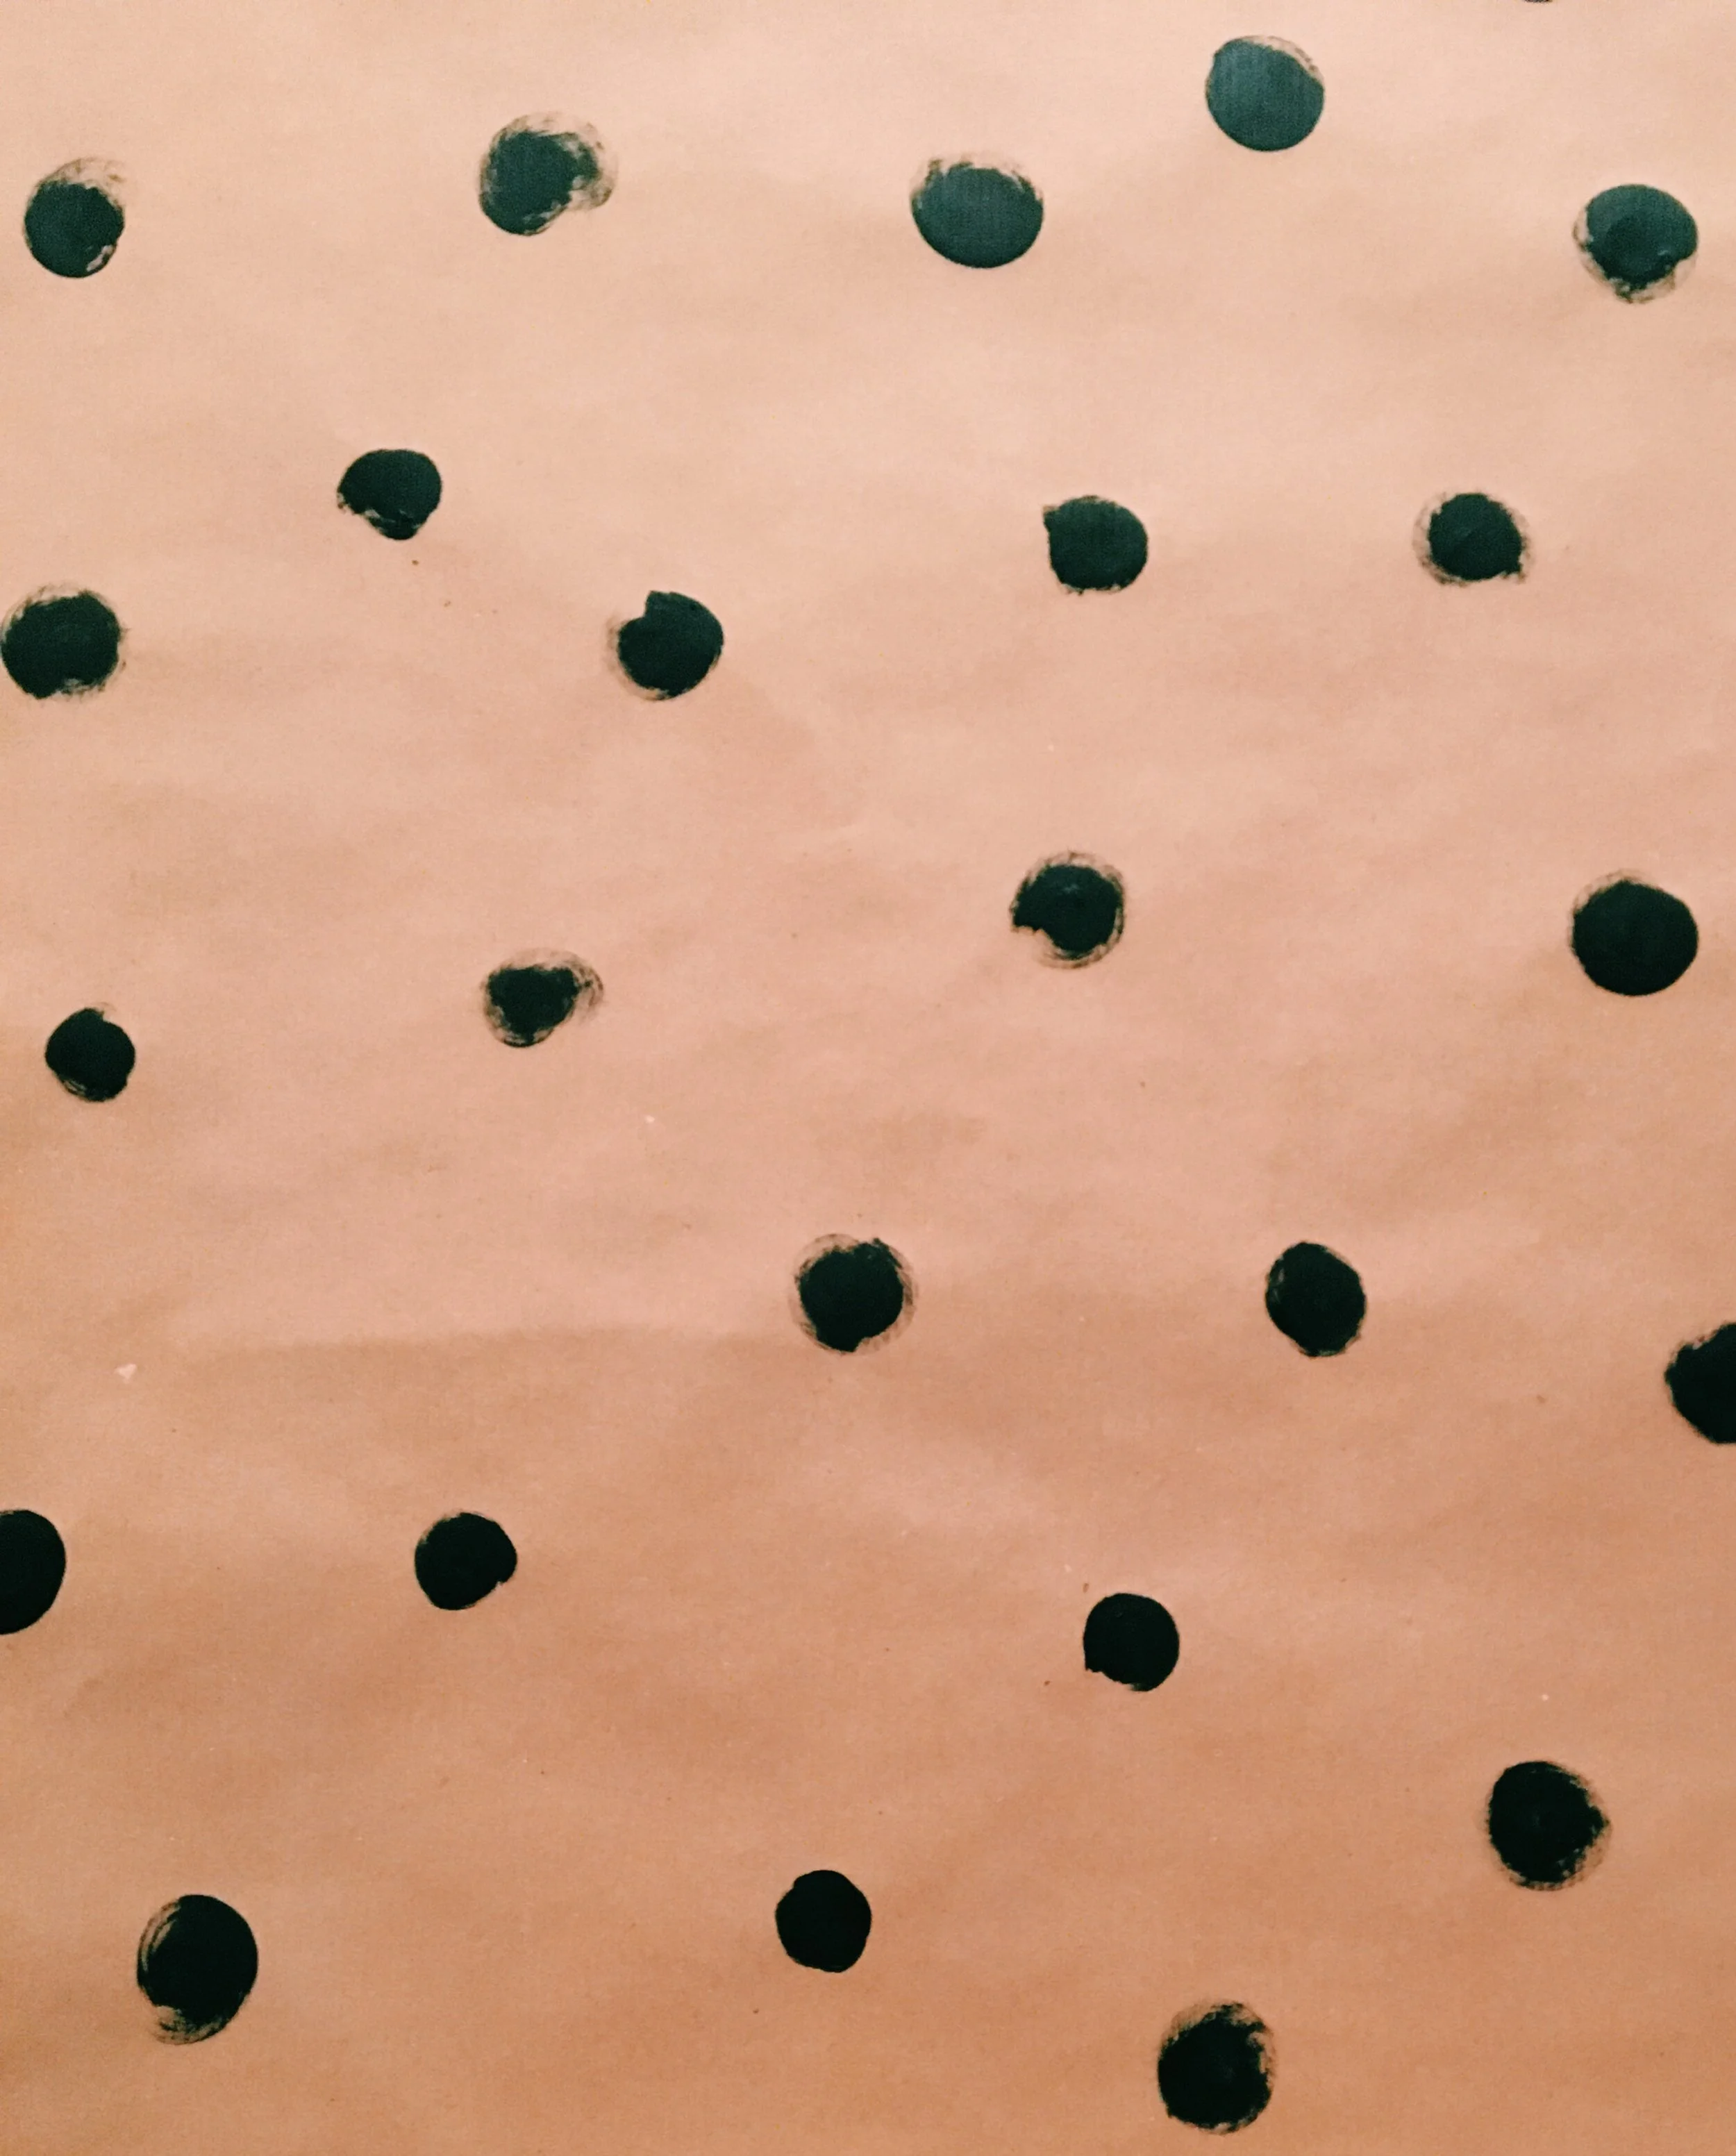
Dots –
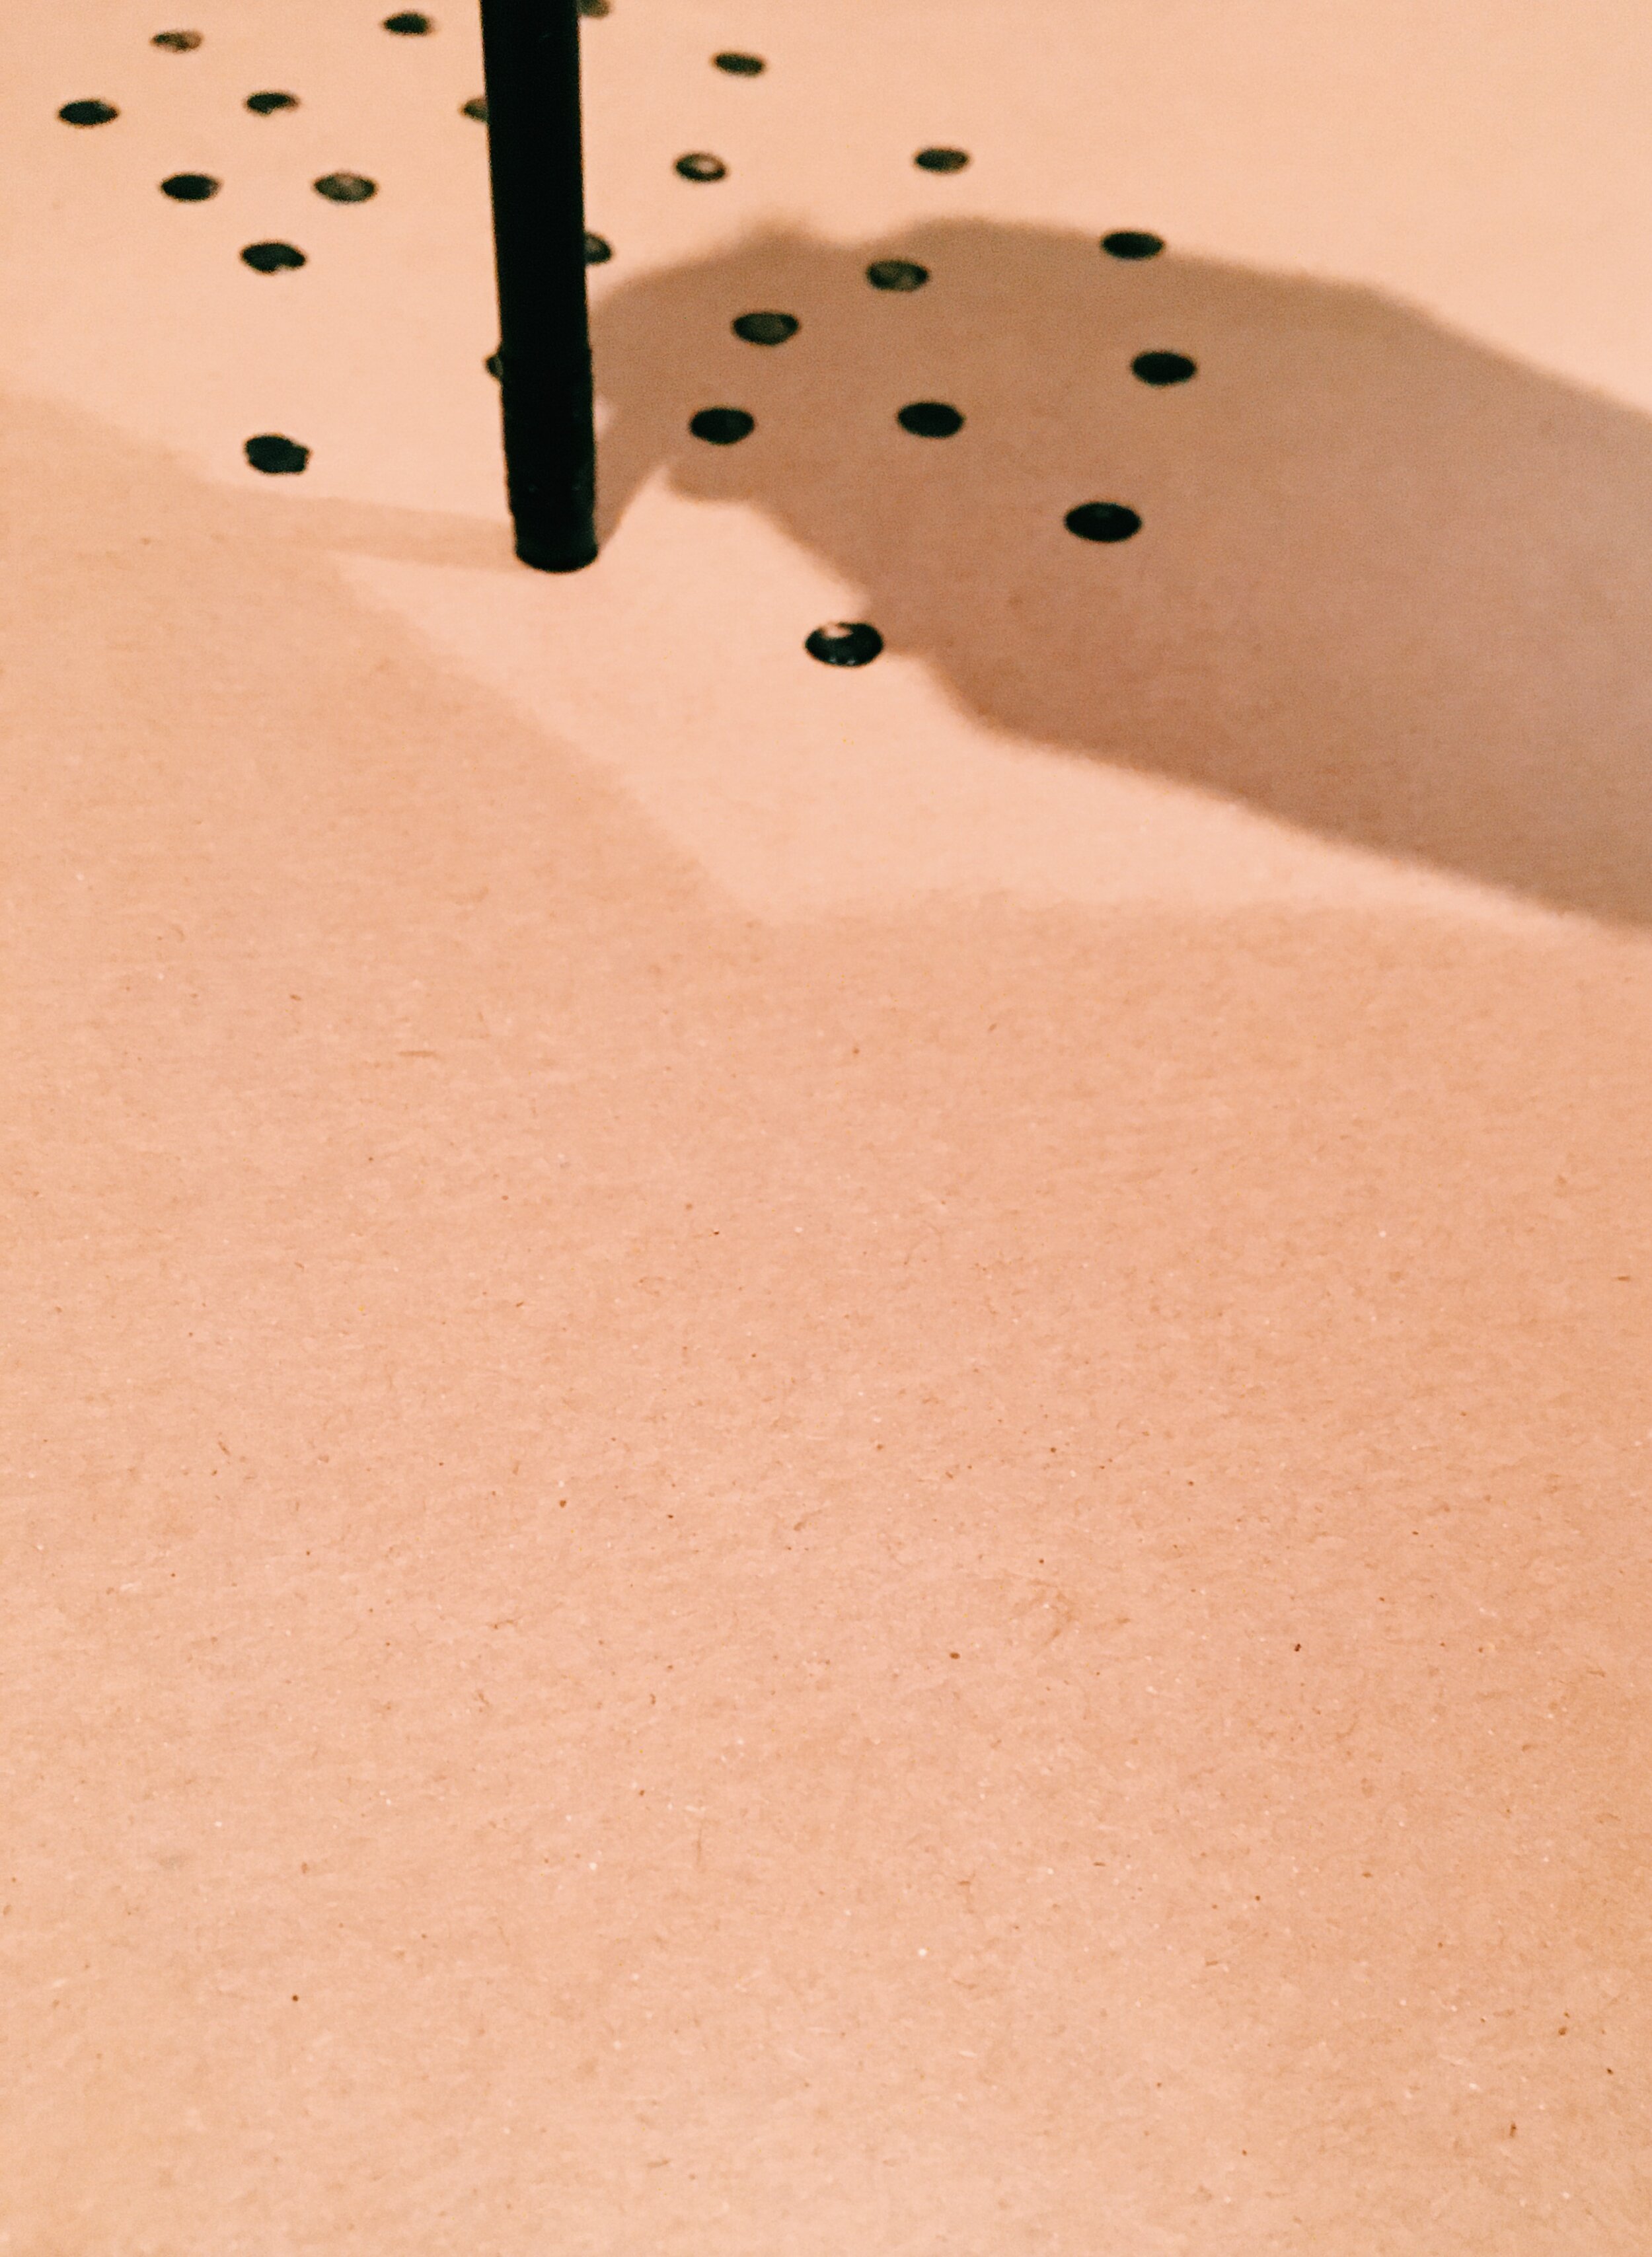
Using the rubber on your pencil dip it into the paint colour you’ve chosen.
Then press on to the brown paper.
Repeat until you’re happy with your dot pattern.
If it’s looking a bit messy you might have too much paint on the rubber. Try dabbing the excess off on scrap paper before dabbing on the brown paper.
Mark Making –
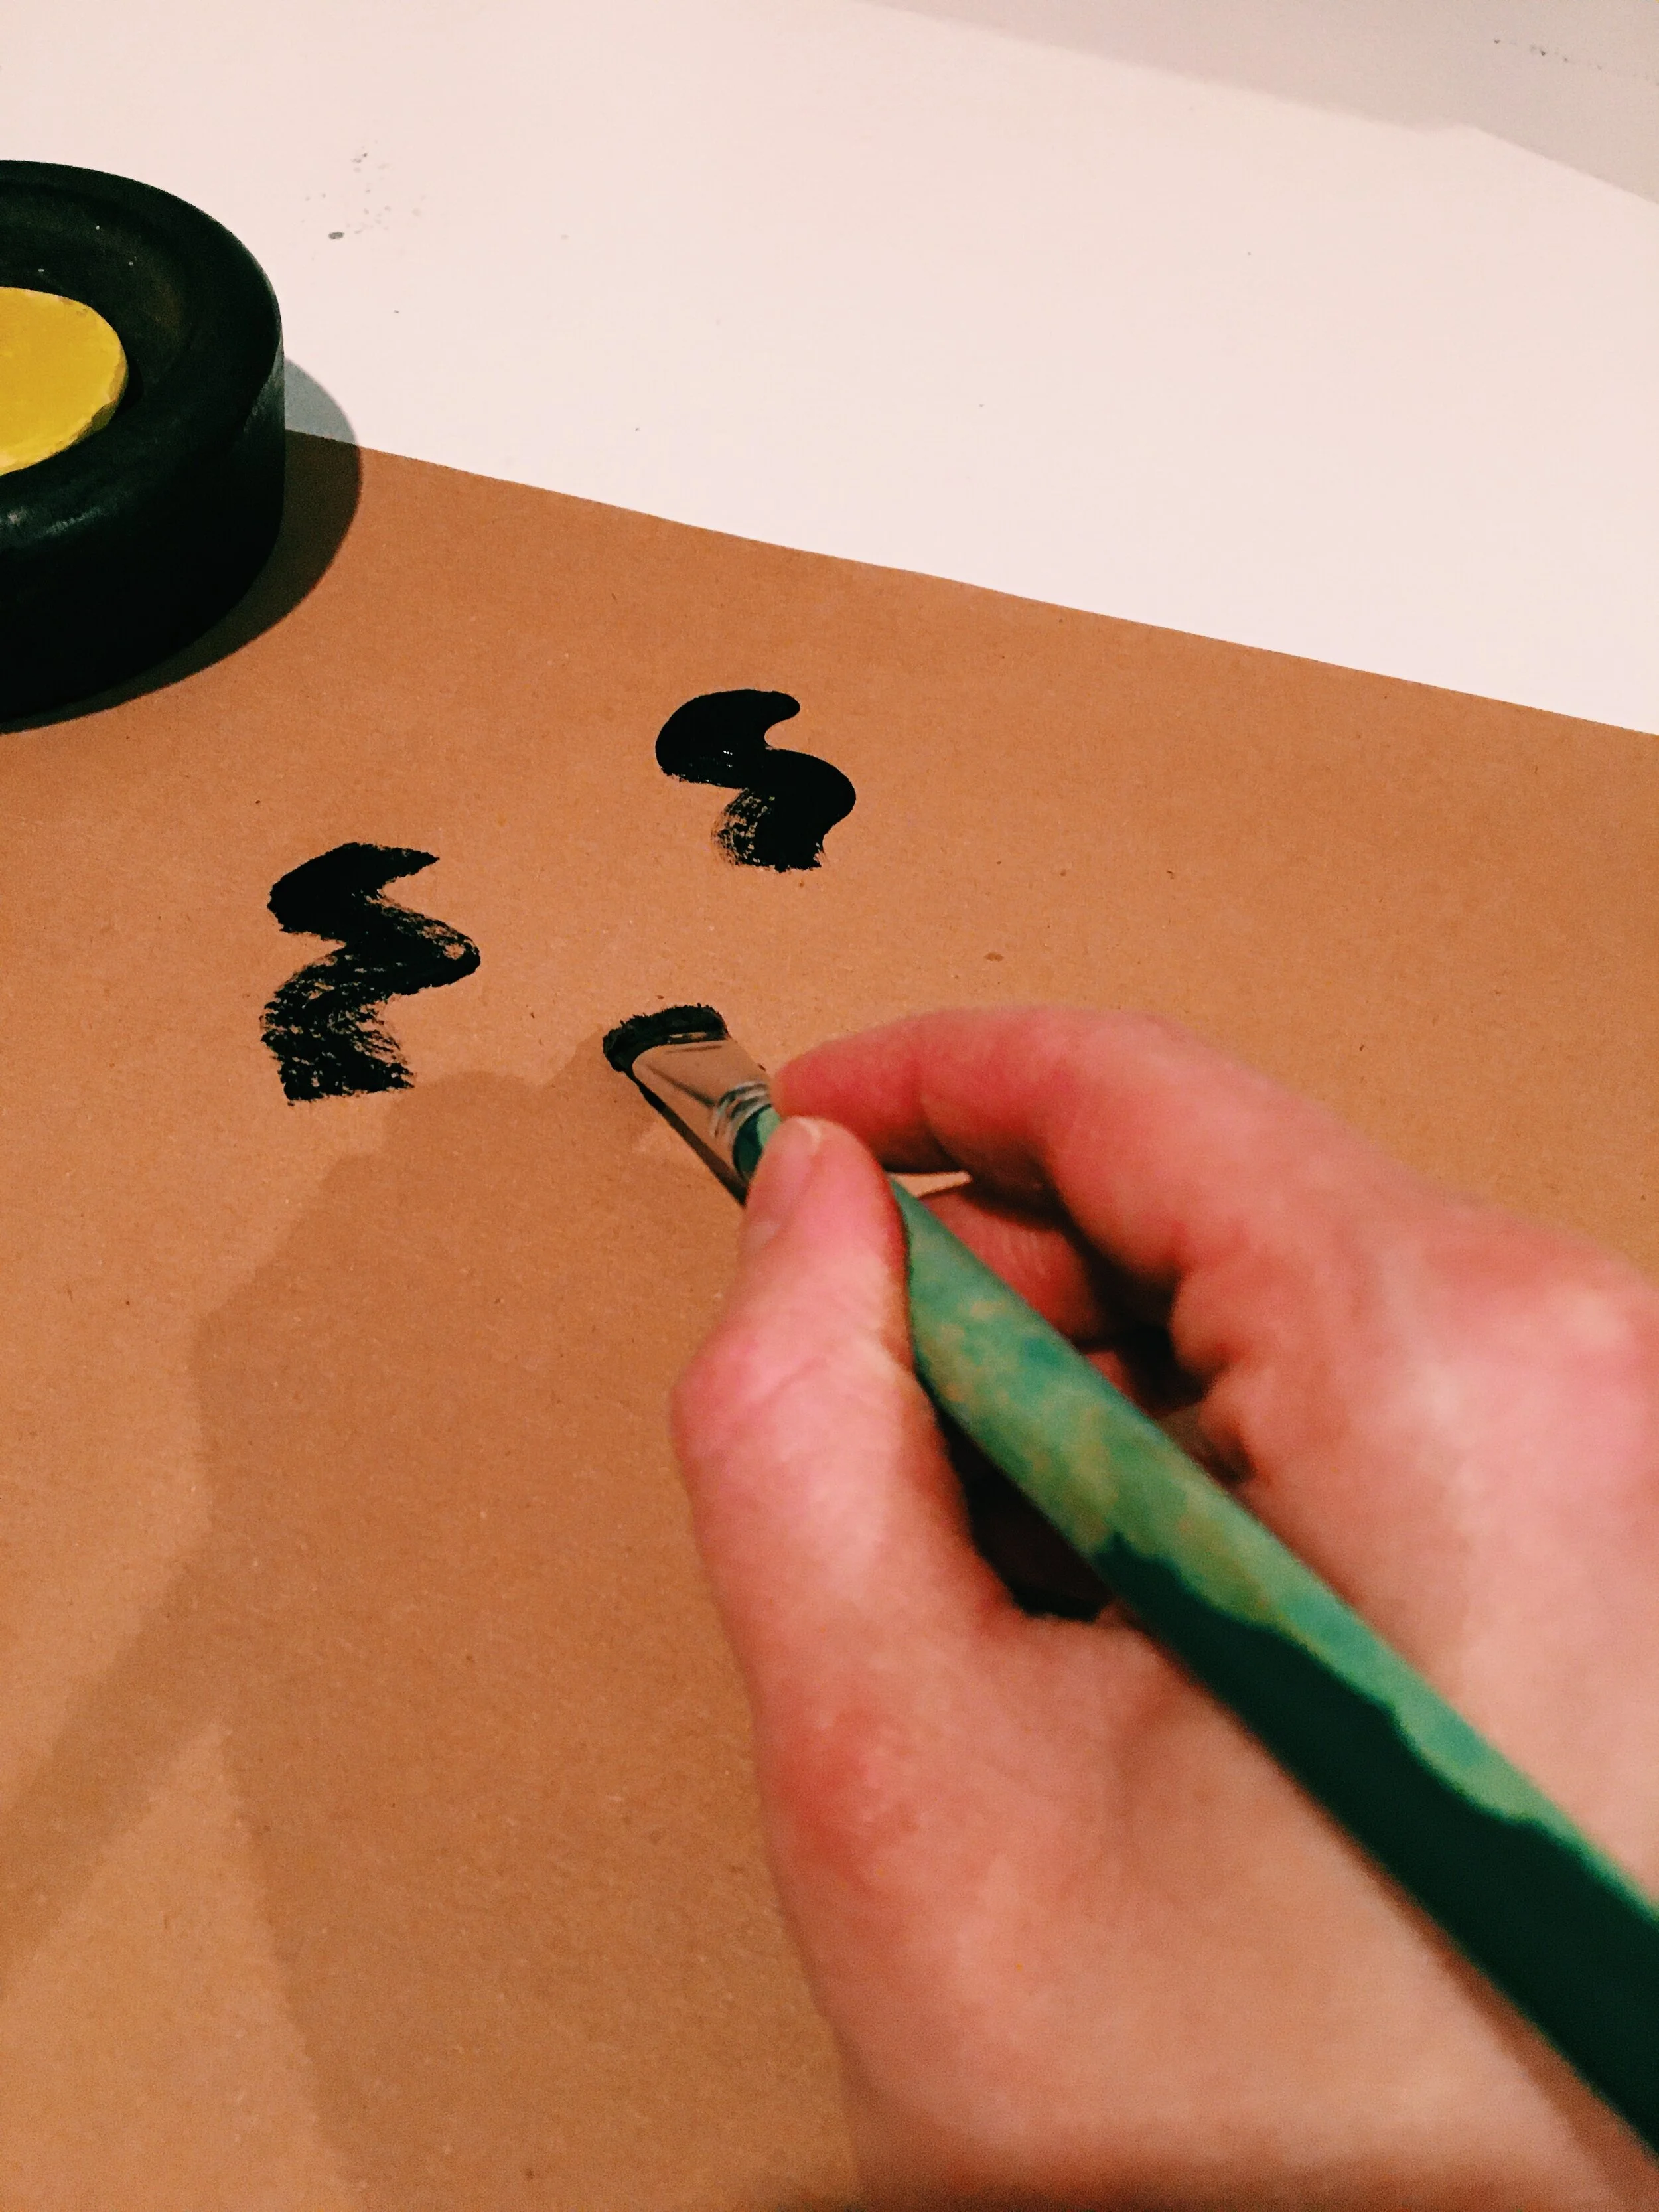
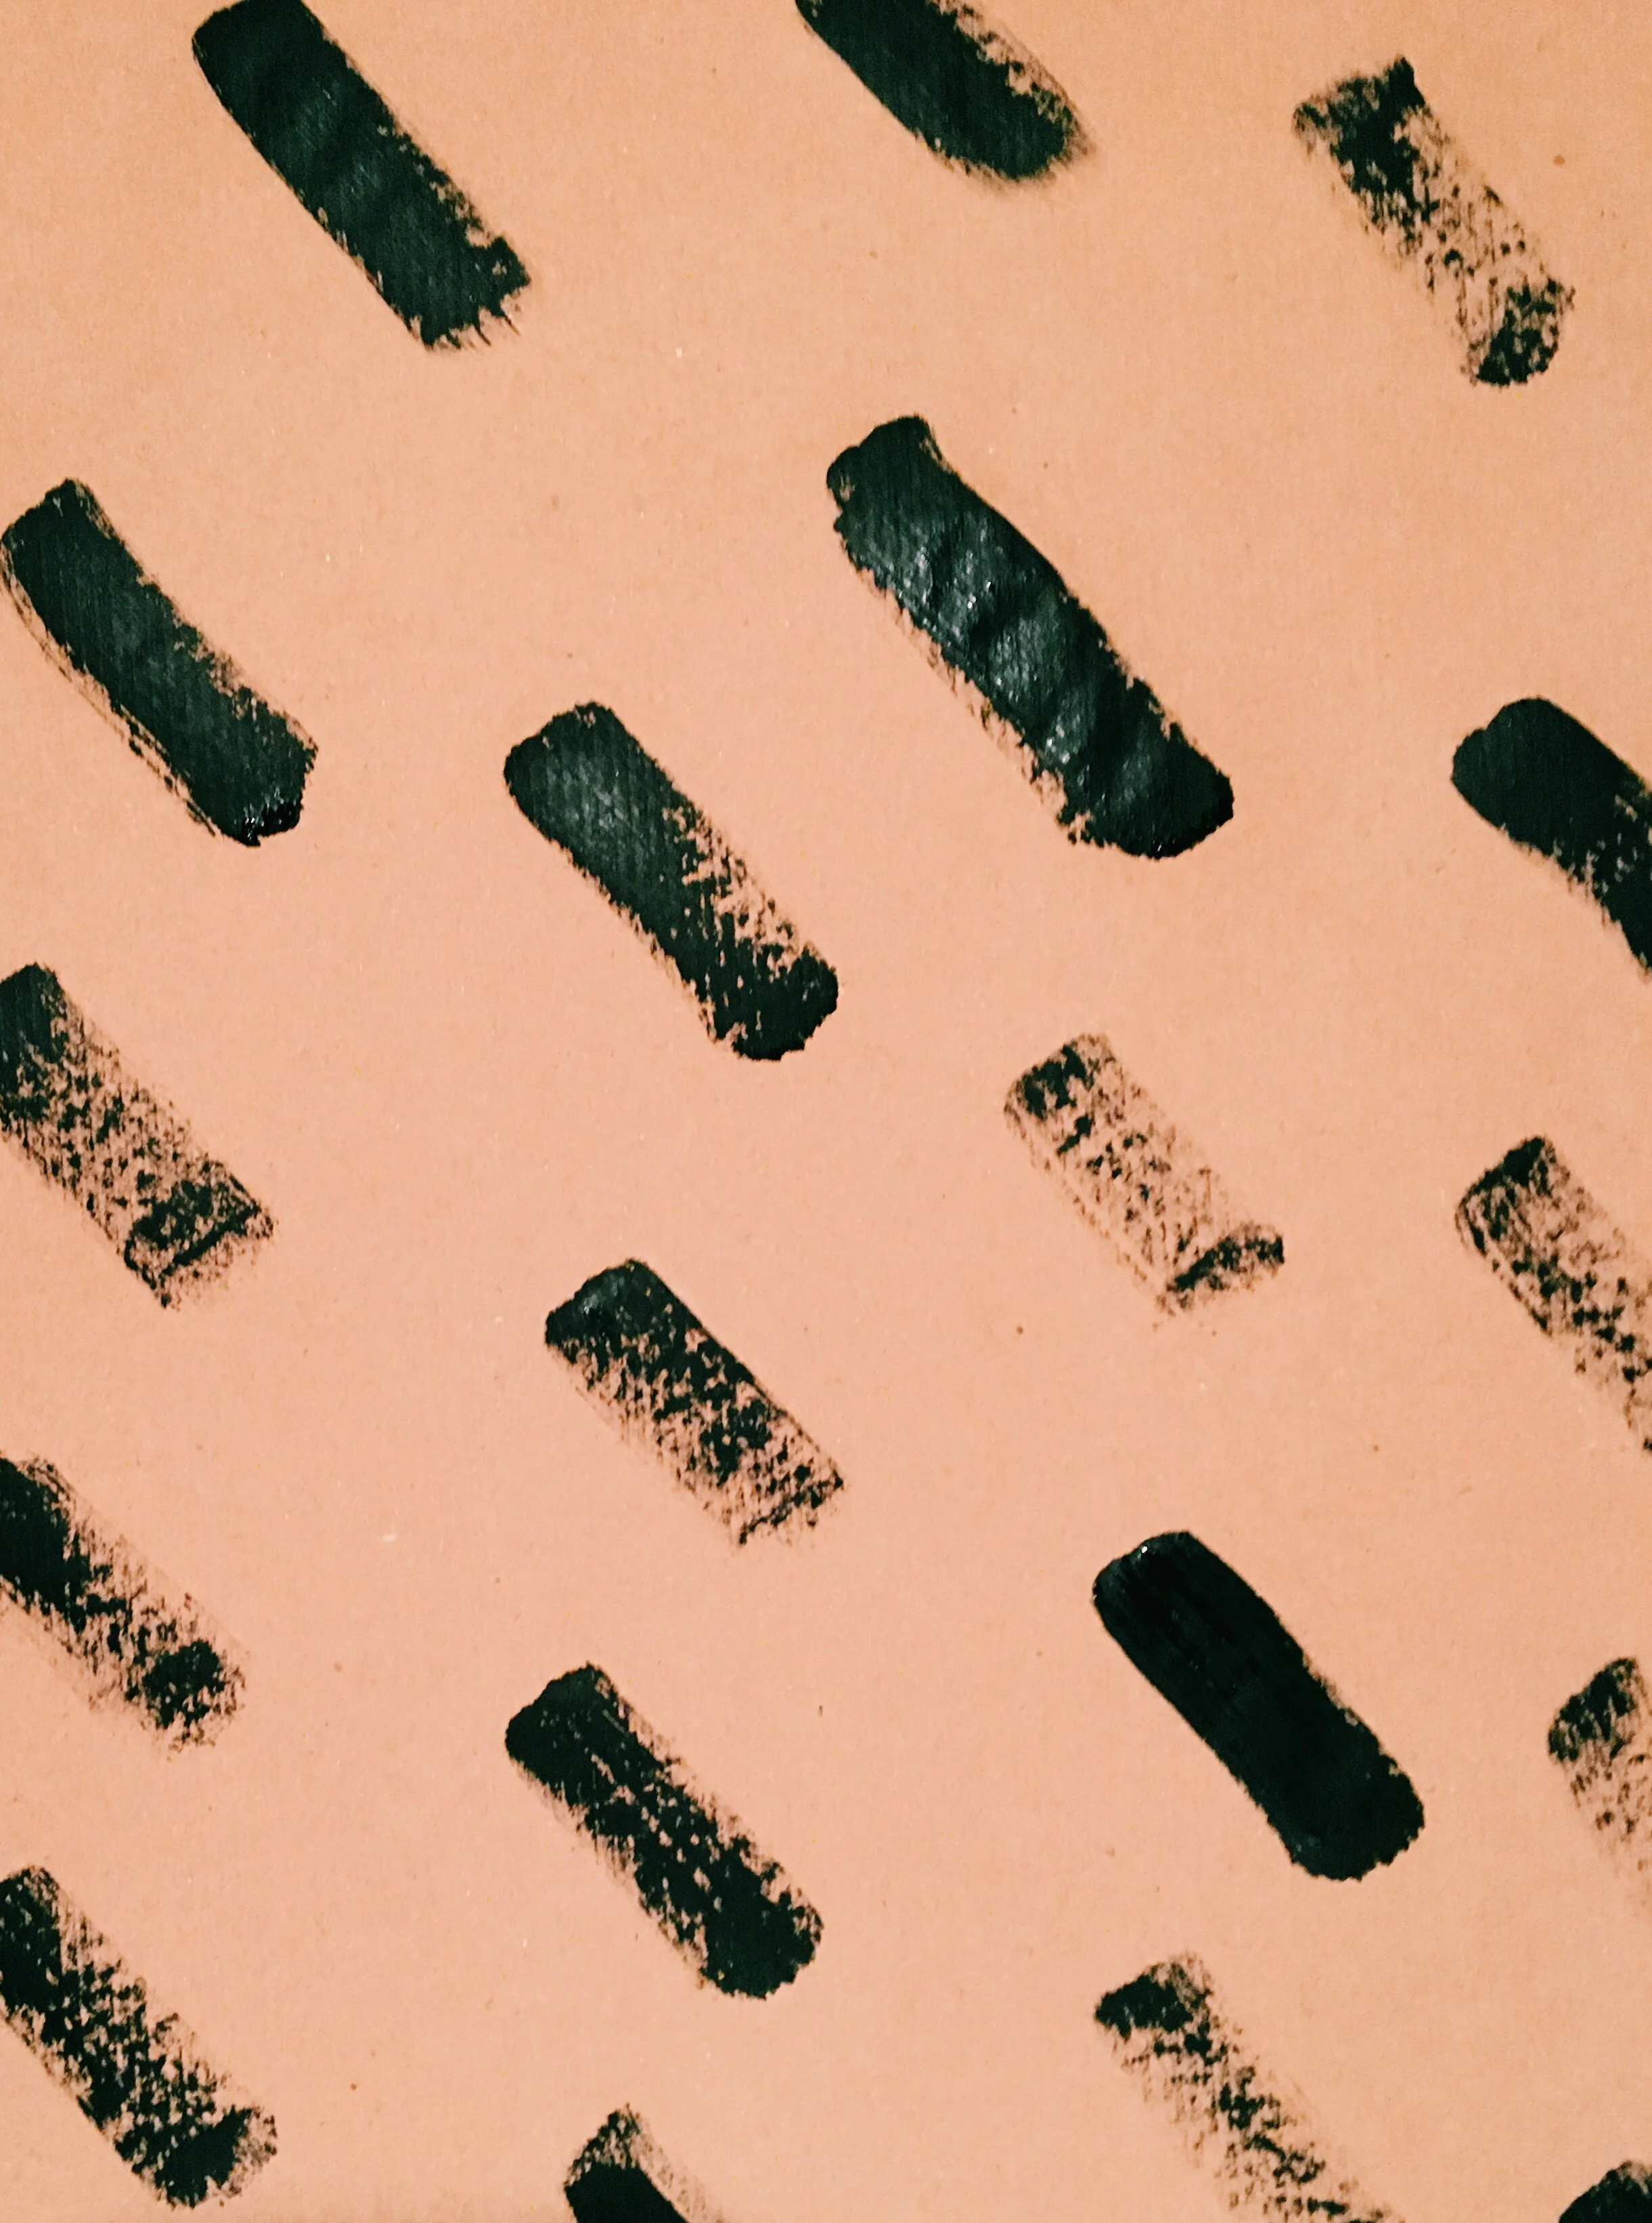
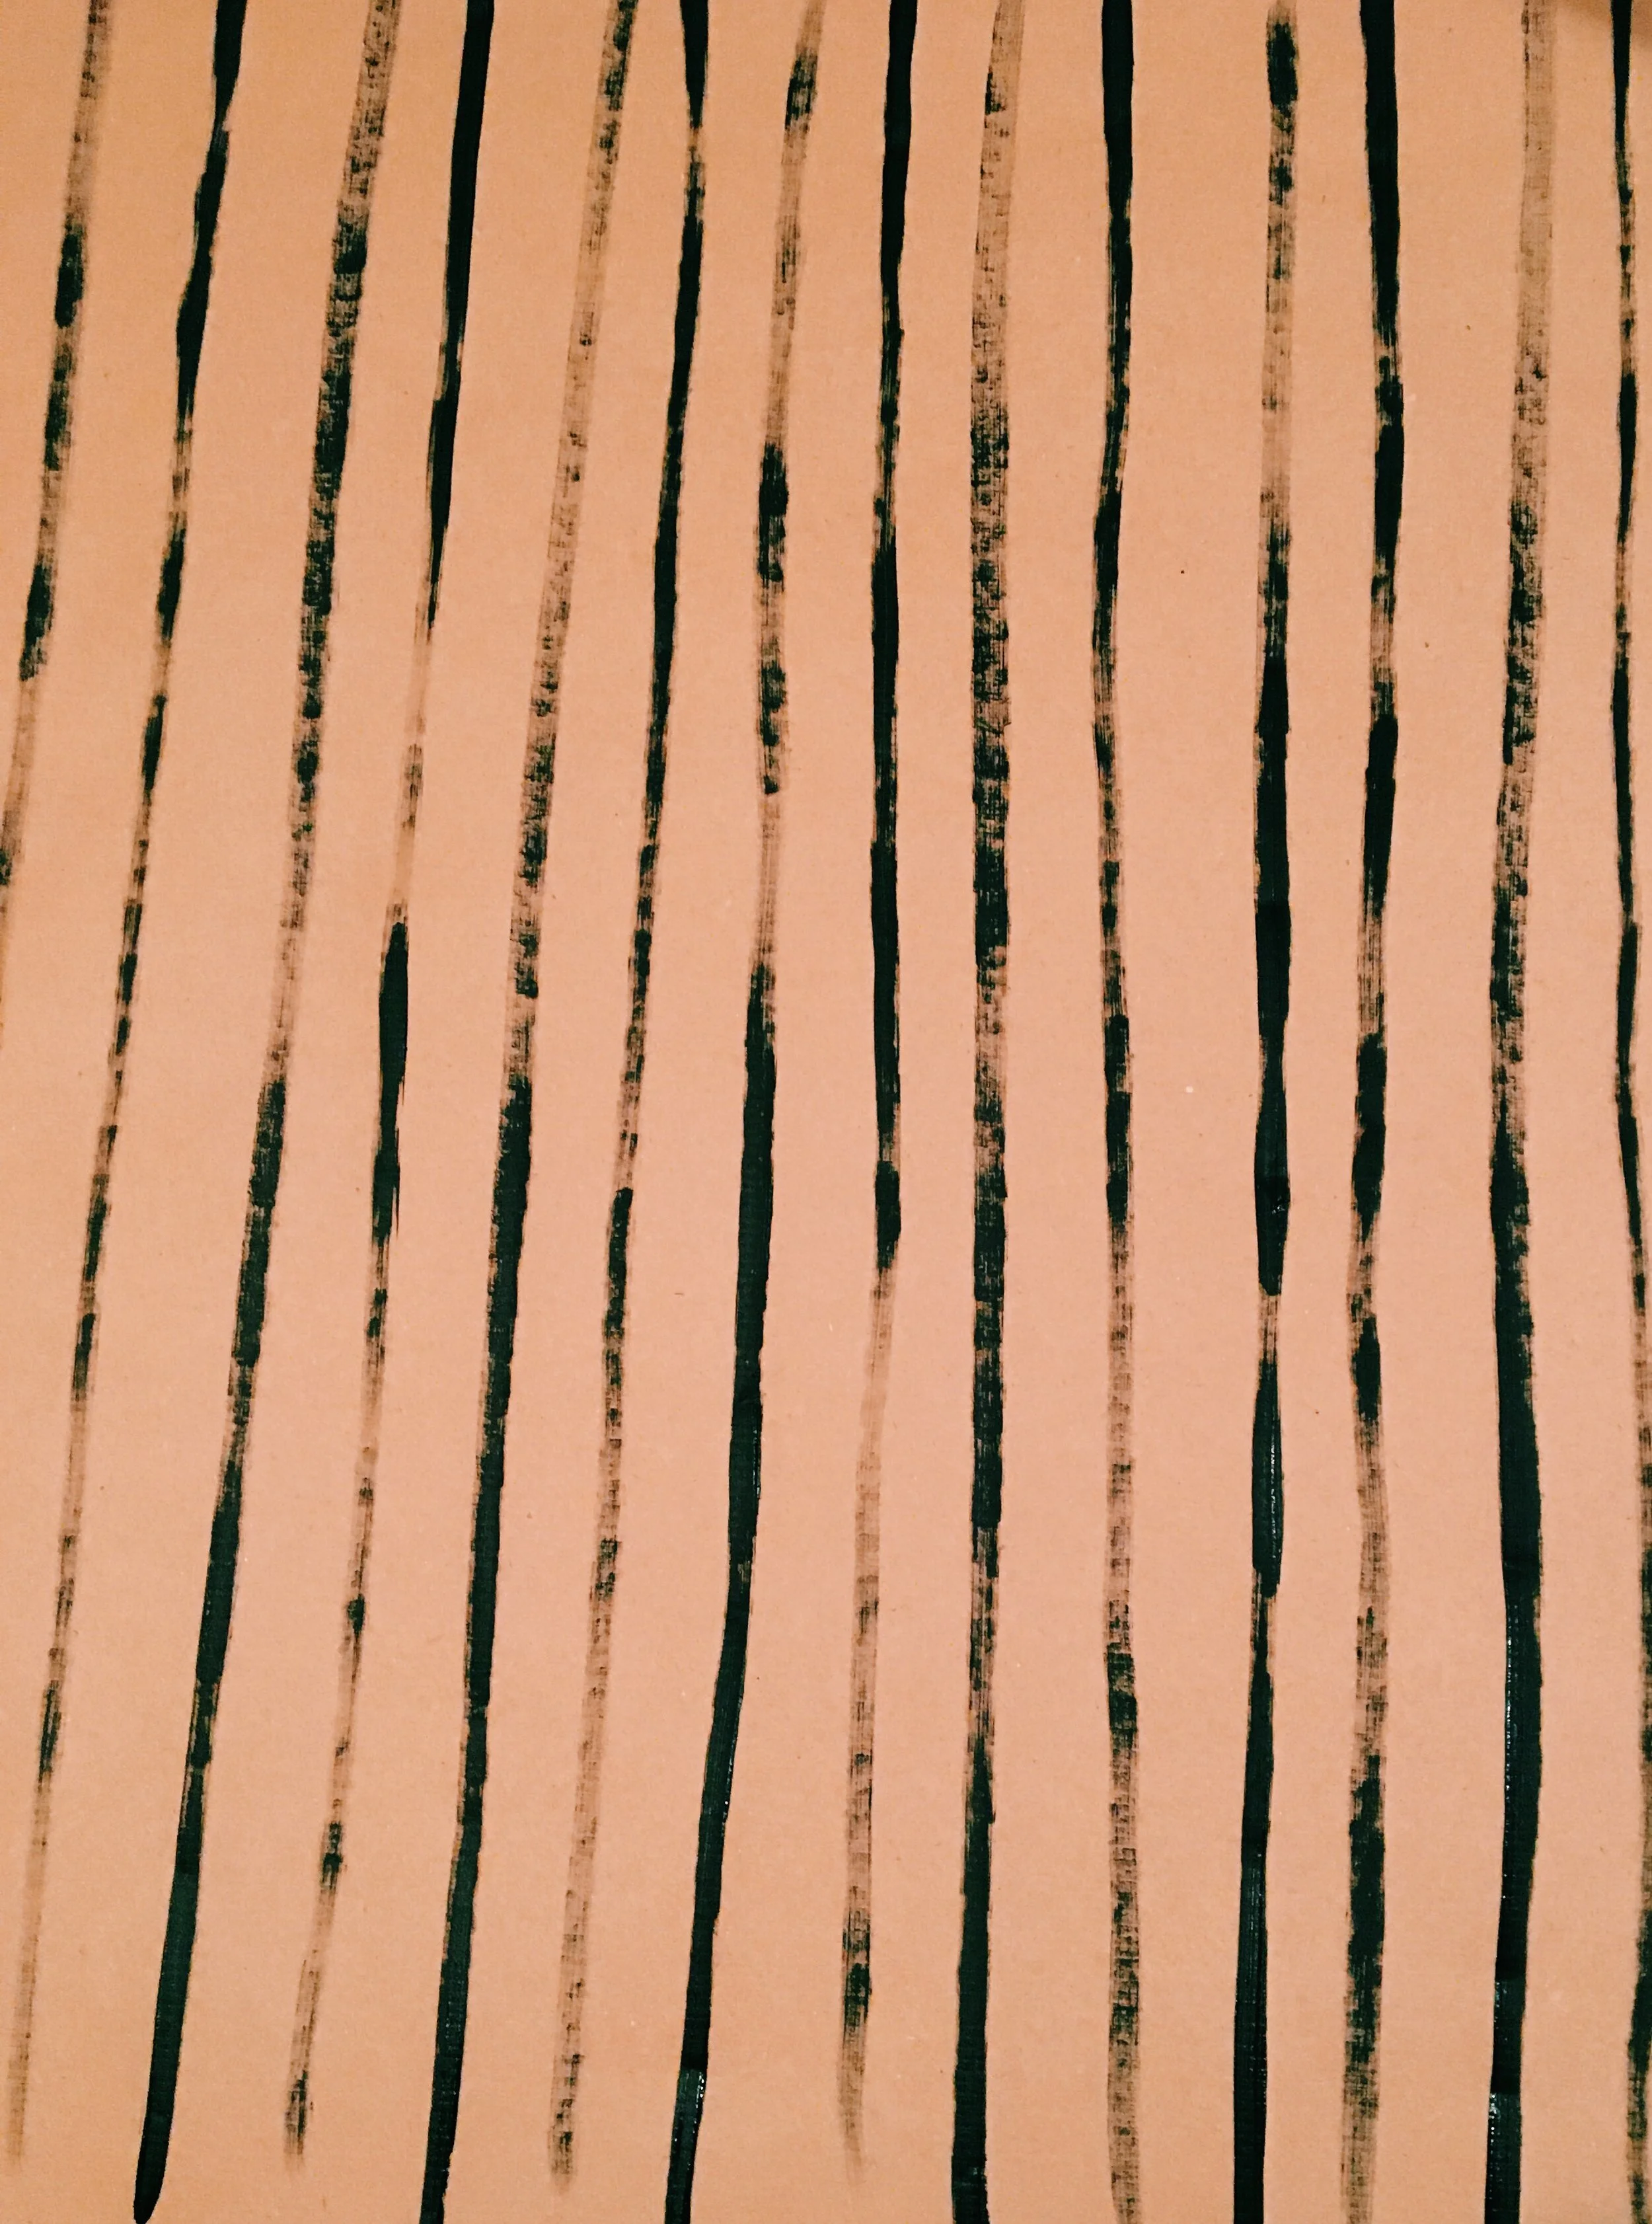
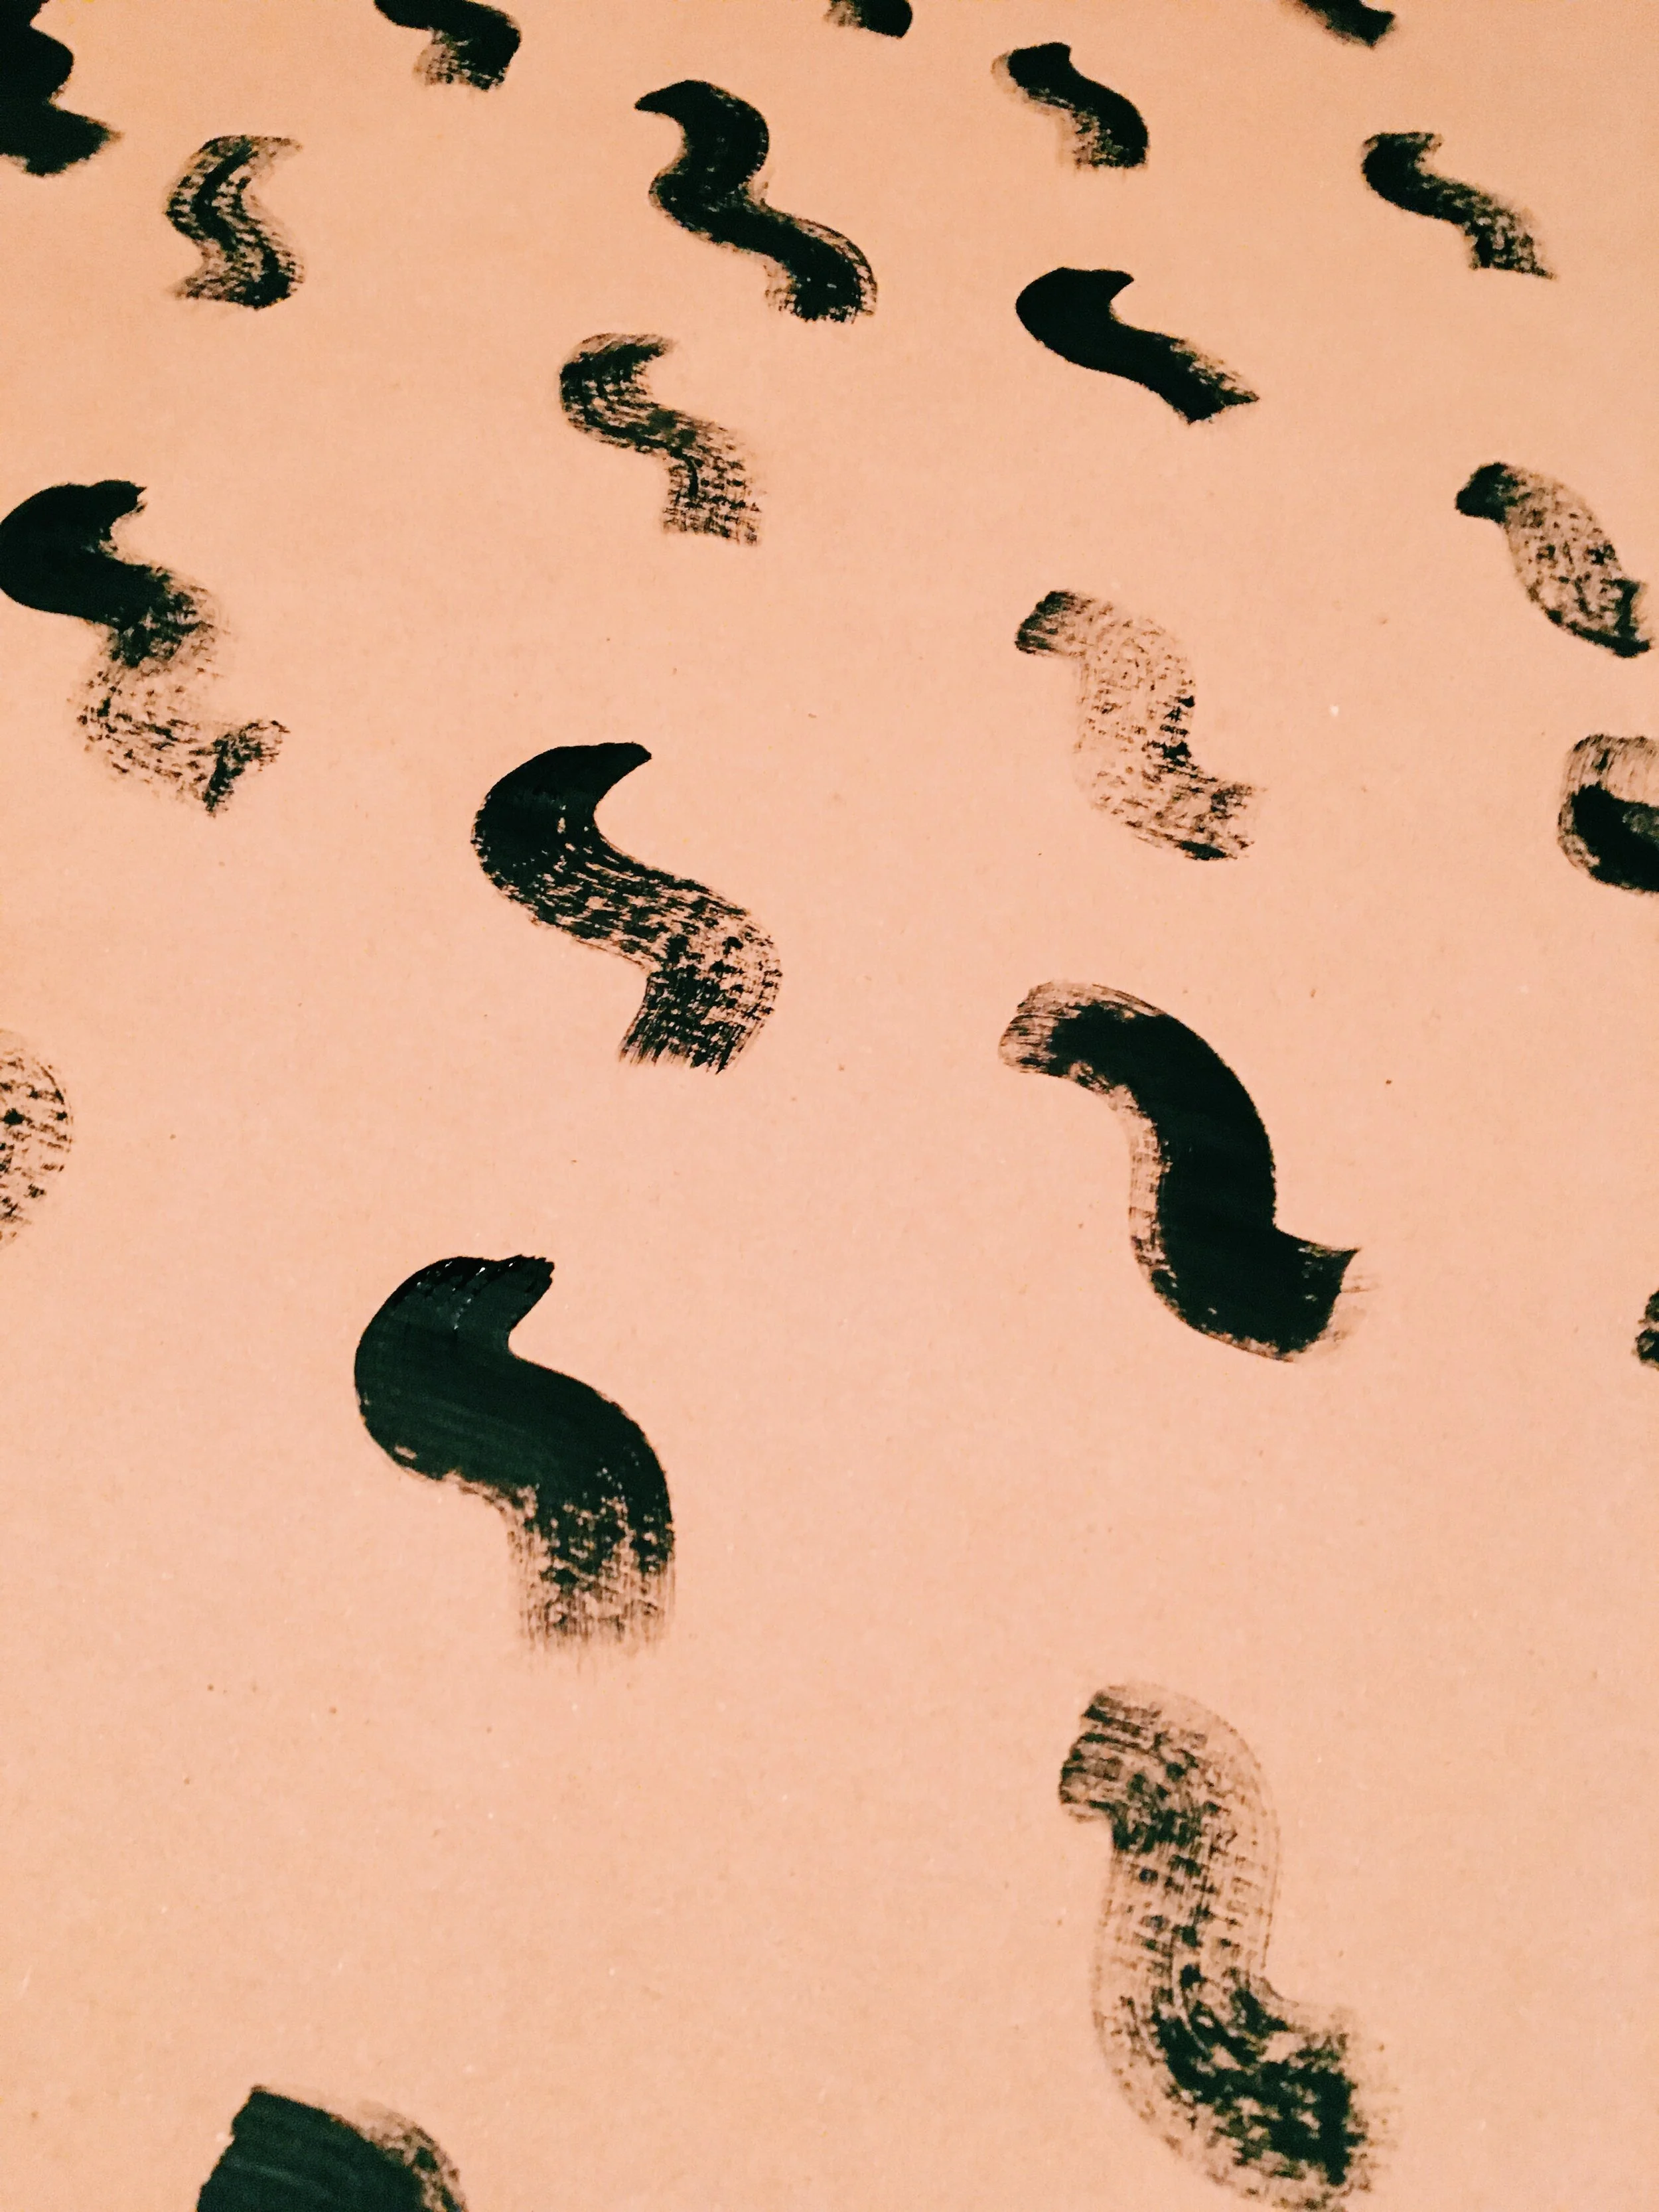
Mix up the colour you want and using a square brush paint quick marks on your paper.
Variety in texture and line thickness adds interest.
You can create wiggly lines, straight lines, round marks, dabs or whatever you want. Experiment!
Once dry you’re good to get wrapping. Why not try wrapping presents with paper and paper parcel tape?
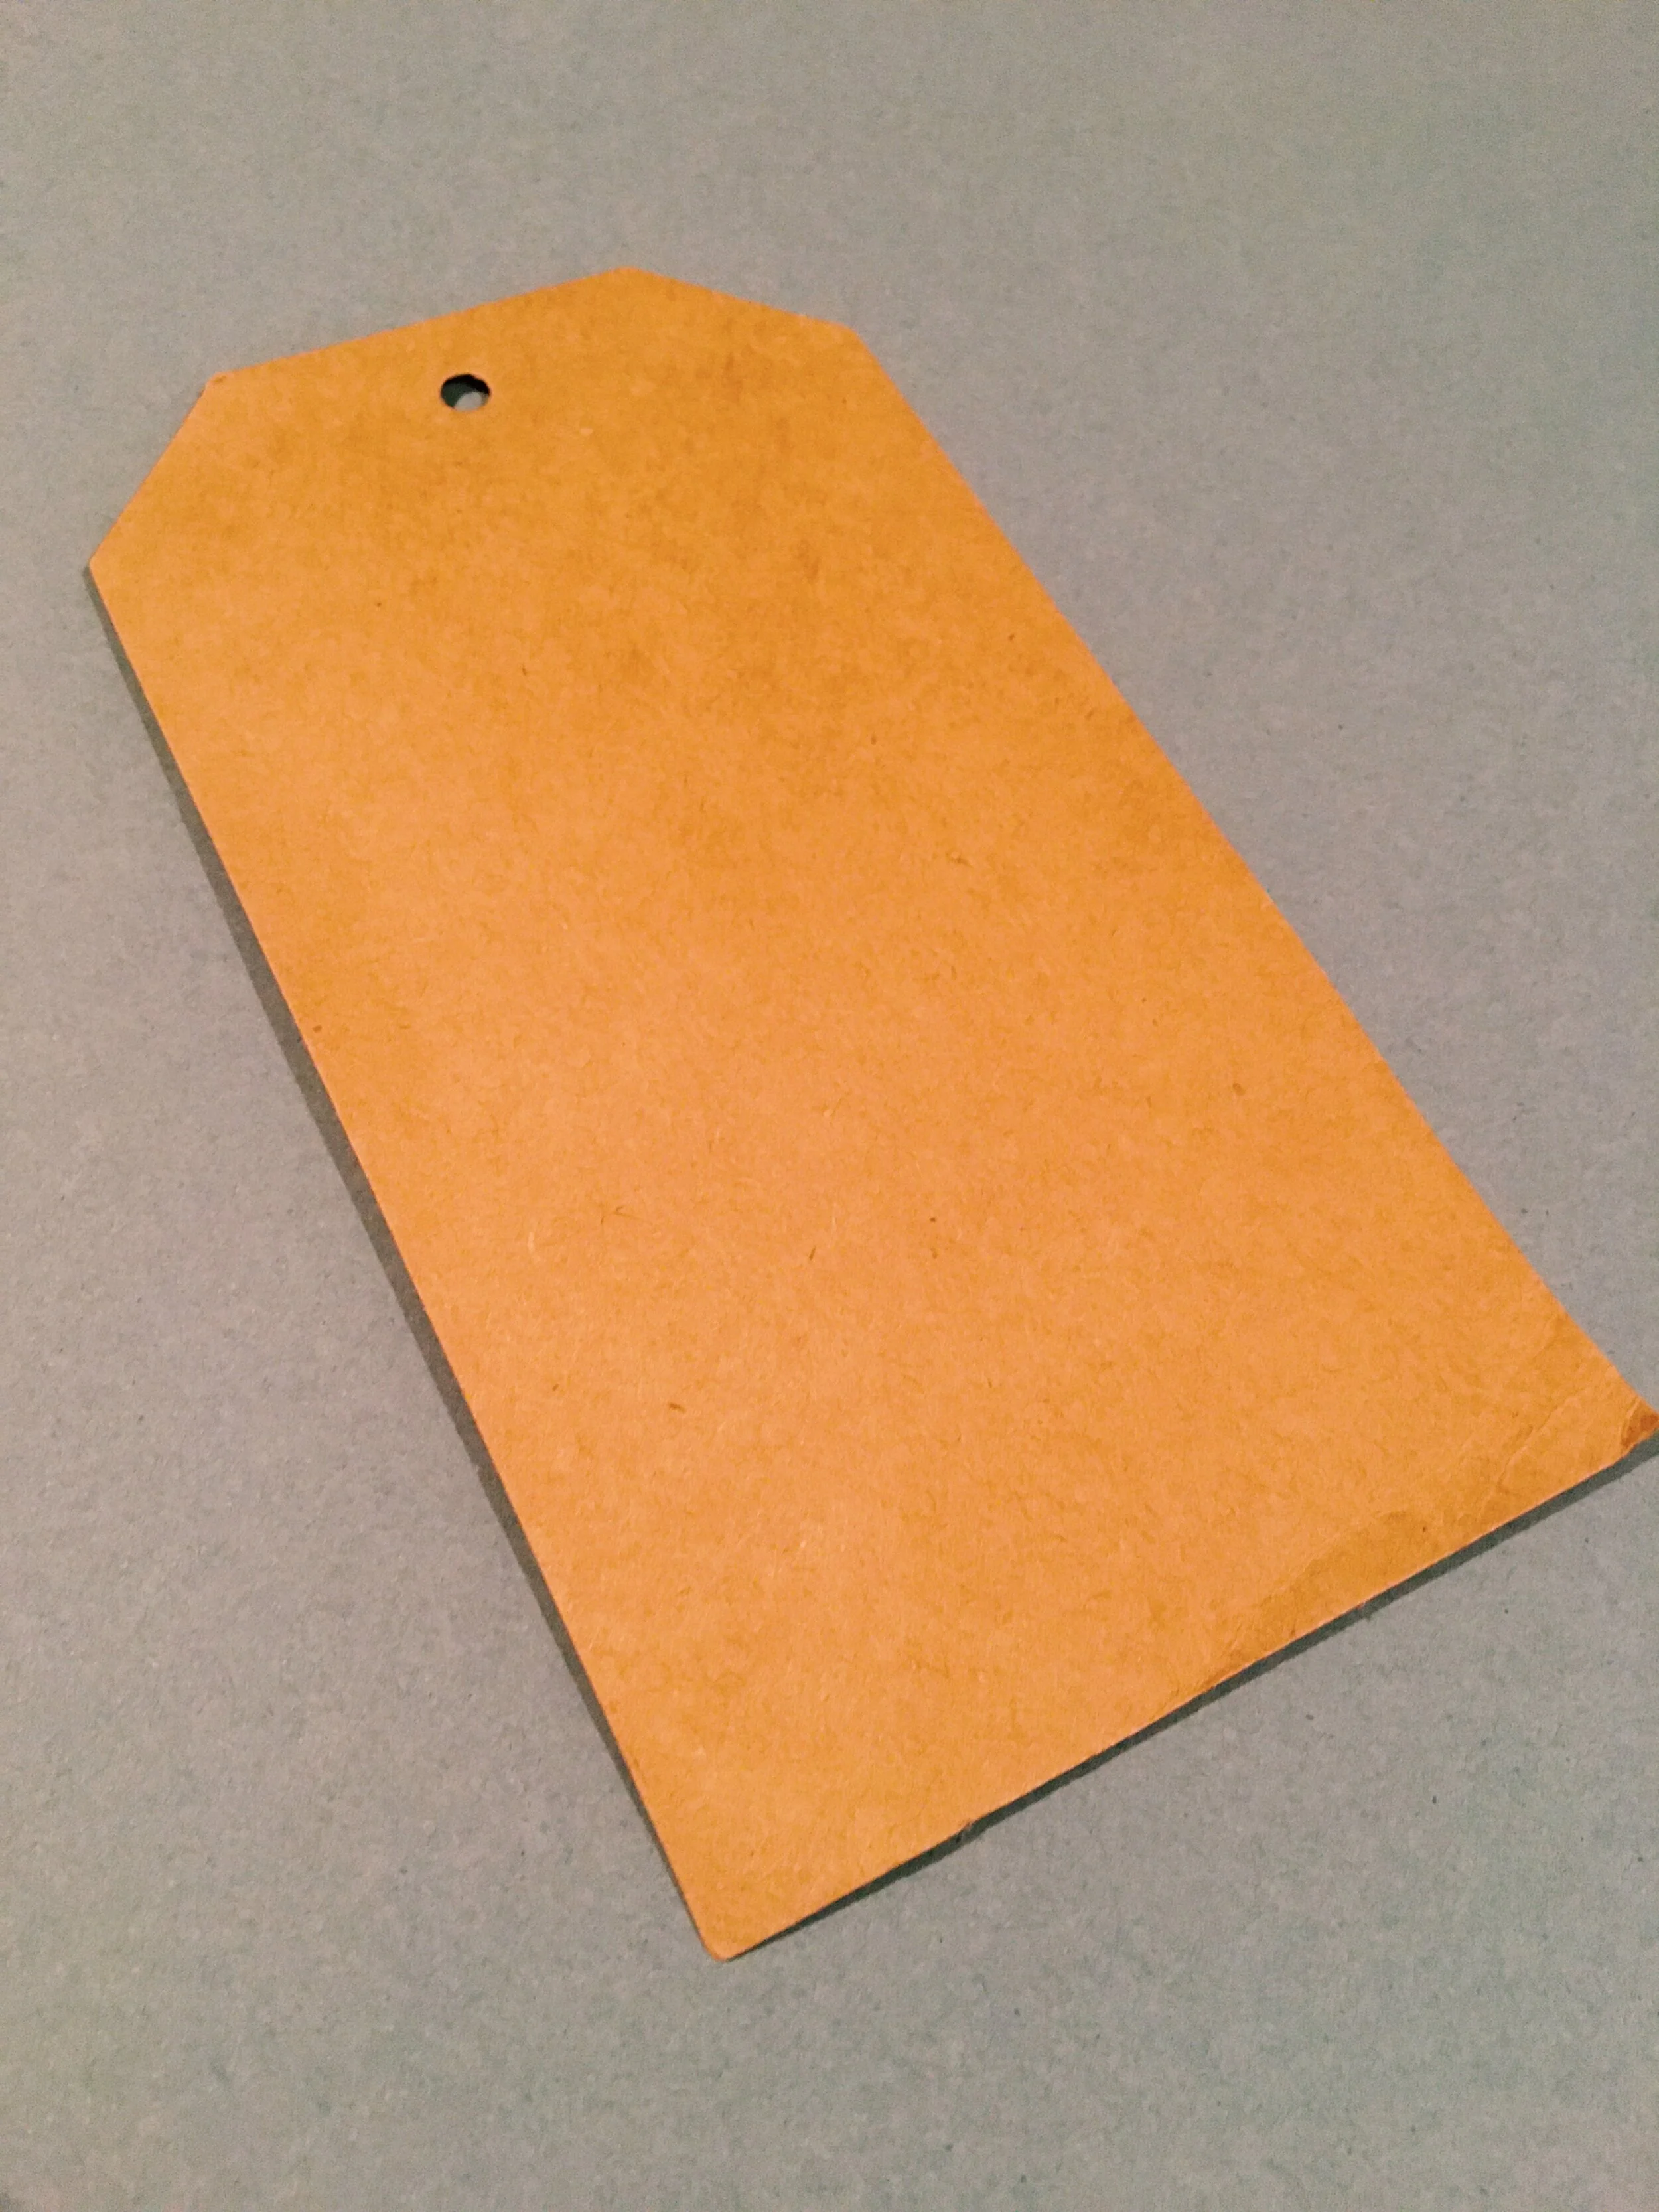
Looking for something else to smarten up your wrapping? Make your own tag!
Cut out a tag shape
Stick down a bit of remnant fabric (tip is to cut with pinking shears or fray the edges for a nice finish)
Then pop some chunky ribbon through it
Done!
Hope you enjoyed these simple tutorials. Great ones to do to relax with a movie or to keep kids busy.
Not into this? No worries. What about wrapping in fabric? Furoshiki started in Japan when bathers would wrap their clothes in a small rectangular or square bit of fabric but now it has been adopted by gift-givers! Or what about giving your gift in a bag? These can be kept and reused.
Remember + share the images of your DIY’s to @Paper_Houses on Instagram + Twitter.
Happy wrapping!

